Google Earthのもっとも大きな特徴が、
一口にオーバーレイといっても、
- ユーザの理解の補助
- フォトアルバム
- Google Street Viewのような360°写真に囲まれた空間の作成
グラウンドオーバーレイ
グラウンドオーバーレイは、
まずは、
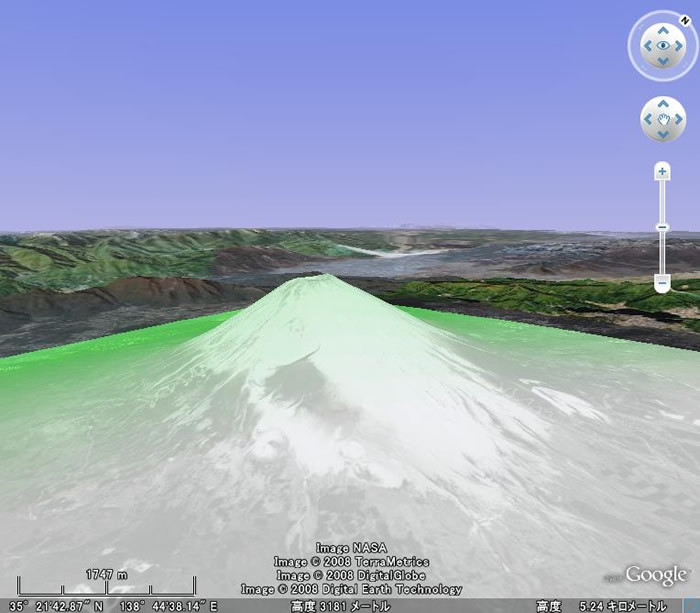
真上から撮影された画像などが用意できれば、
ちなみに、
<GroundOverlay>
  <name>緑富士</name>
  <LookAt>
    <longitude>138.7425424325347</longitude>
    <latitude>35.36321690911843</latitude>
    <altitude>0</altitude>
    <range>12638.6055760699</range>
    <tilt>80.54705036593116</tilt>
    <heading>-40.8359291048434</heading>
    <altitudeMode>relativeToGround</altitudeMode>
  </LookAt>
  <color>b0ffffff</color>
  <Icon>
    <href>green.jpg</href>
    <viewBoundScale>0.75</viewBoundScale>
  </Icon>
  <LatLonBox>
    <north>35.45951218816743</north>
    <south>35.27281740934561</south>
    <east>138.8507857577014</east>
    <west>138.6155125819757</west>
  </LatLonBox>
</GroundOverlay>
使いどころはさまざまで、
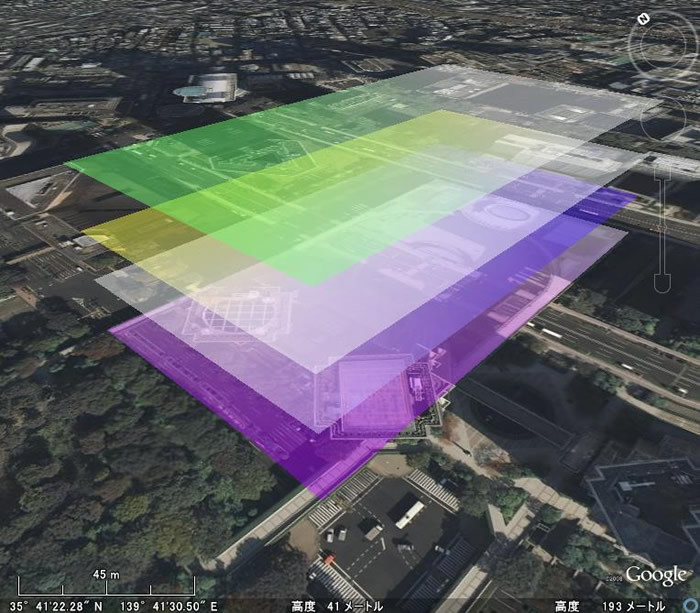
図2のオーバーレイは、
さらに、
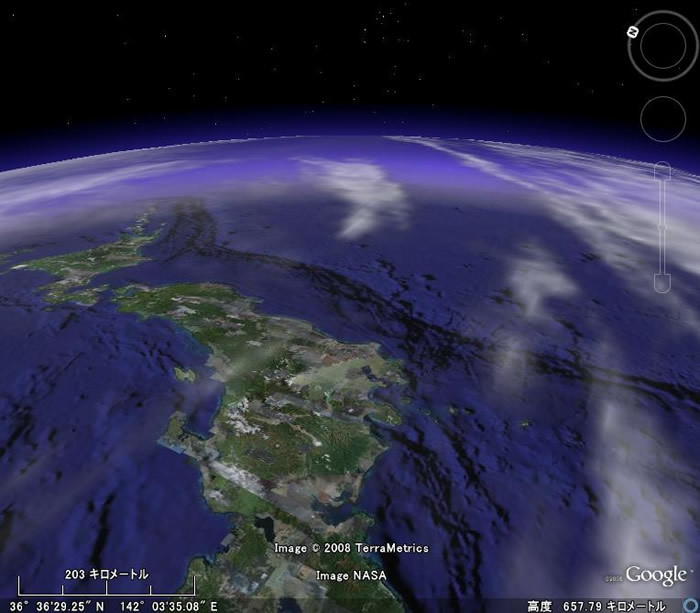
よく利用されている有名なオーバーレイですが、
- Cloud Layer at Altitude :
http://bbs. keyhole. com/ ubb/ showflat. php?Cat=0&Number=617597
スクリーンオーバーレイ
スクリーンオーバーレイは非常に変わったオーバーレイで、
Region設定を駆使することで、
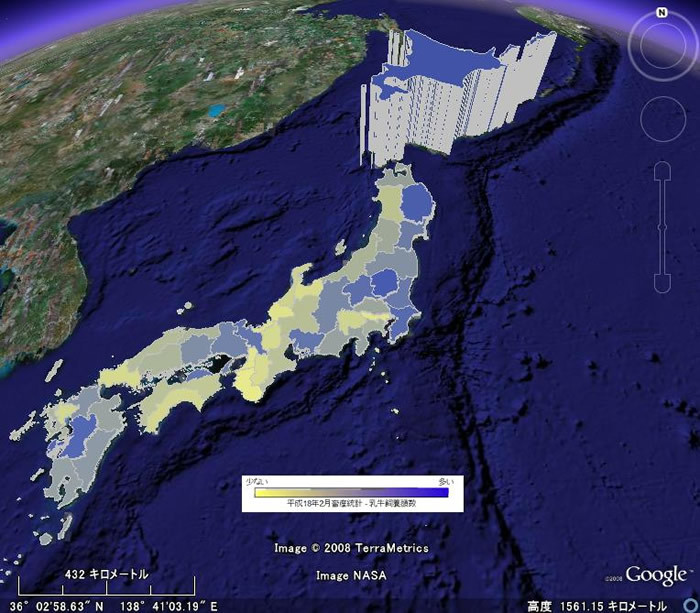
とある統計データをポリゴンで記述し、
USGSのリアルタイム地震情報ネットワークリンクで採用されている凡例などでも使われています。こちらは透過のpng画像を用いて、
では、
<ScreenOverlay>
  <name>legend</name>
  <visibility>0</visibility>
  <Icon>
    <href>/images/hanrei.bmp</href>
  </Icon>
  <overlayXY x="0.5" y="1" xunits="fraction" yunits="fraction"/>
  <screenXY x="0.5" y="150" xunits="fraction" yunits="pixels"/>
  <rotationXY x="0" y="0" xunits="fraction" yunits="fraction"/>
  <size x="0" y="0" xunits="fraction" yunits="fraction"/>
</ScreenOverlay>
スクリーンオーバーレイは、
| 配置位置 | 設定 |
|---|---|
| フルスクリーン |
<overlayXY x="0. |
| 左上 | <overlayXY x="0" y="1" xunits="fraction" yunits="fraction"/> <screenXY x="0" y="1" xunits="fraction" yunits="fraction"/> <rotationXY x="0" y="0" xunits="fraction" yunits="fraction"/> |
| 右上 | <overlayXY x="1" y="1" xunits="fraction" yunits="fraction"/> <screenXY x="1" y="1" xunits="fraction" yunits="fraction"/> <rotationXY x="0" y="0" xunits="fraction" yunits="fraction"/> <size x="0" y="0" xunits="fraction" yunits="fraction"/> |
| 左下 | <overlayXY x="0" y="-1" xunits="fraction" yunits="fraction"/> <screenXY x="0" y="0" xunits="fraction" yunits="fraction"/> <rotationXY x="0" y="0" xunits="fraction" yunits="fraction"/> <size x="0" y="0" xunits="fraction" yunits="fraction"/> |
| 右下 | <overlayXY x="1" y="-1" xunits="fraction" yunits="fraction"/> <screenXY x="1" y="0" xunits="fraction" yunits="fraction"/> <rotationXY x="0" y="0" xunits="fraction" yunits="fraction"/> <size x="0" y="0" xunits="fraction" yunits="fraction"/> |
| 真中下 |
<overlayXY x="0. |
| 真中上 |
<overlayXY x="00. |
| 真中下 |
<overlayXY x="0. |
上記の一覧表の中で、
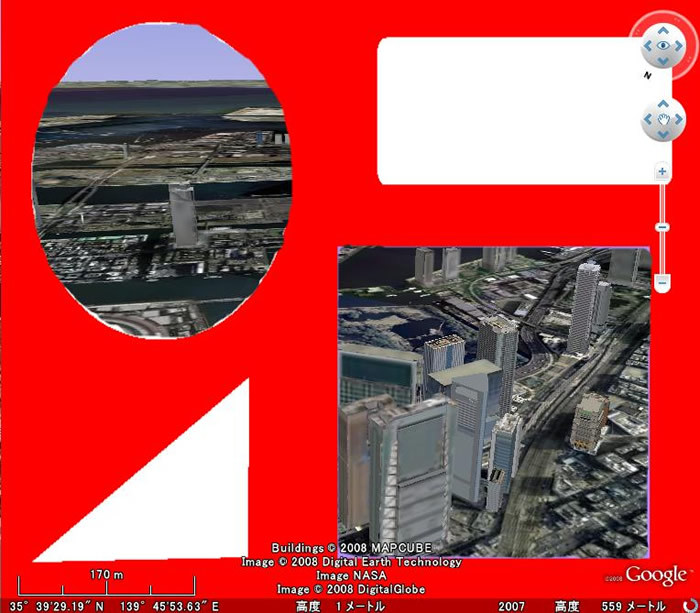
いかがでしょうか? ウィンドウをリサイズしても、
- RS22 Cockpit for GE Flight Simulator:
http://bbs. keyhole. com/ ubb/ showflat. php?Number=1127803
フォトオーバーレイ
フォトオーバーレイは、
- 超高解像度画像の管理
(標準レイヤでいうところのギガピクセルフォト) - Google Street Viewレイヤにあるような、
360°パノラマな世界の実現 - 写真の管理
もちろん、
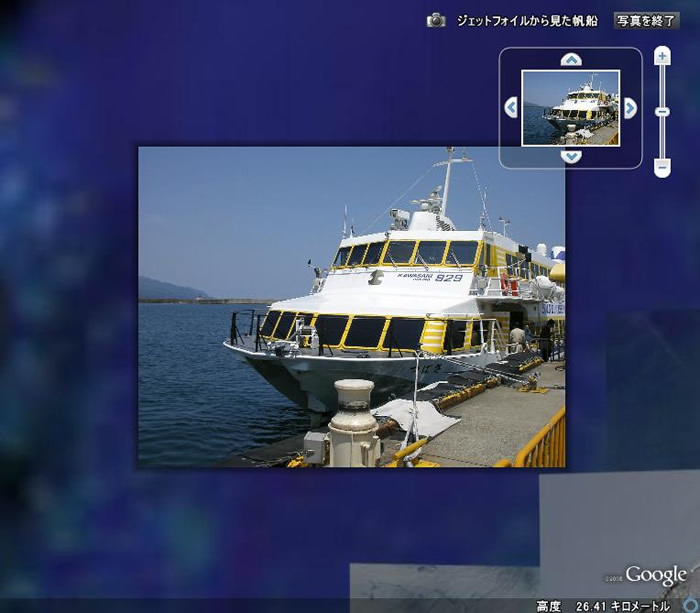
図6にあるものは、
このフォトビューアの操作感覚はGoogle Earthと同じです。ここまではKMLを知らずとも作成ができるのですが、
<PhotoOverlay>
  <name>ジェットフォイルから見た帆船</name>
  <visibility>0</visibility>
  <Camera>
    <longitude>138.822523815</longitude>
    <latitude>38.073268312</latitude>
    <altitude>26406.04000000032</altitude>
    <heading>0.2400000000000043</heading>
  </Camera>
  <Icon><href>jet.JPG</href></Icon>
<shape> ractangle </shape>
  <ViewVolume>
    <leftFov>-25</leftFov>
    <rightFov>25</rightFov>
    <bottomFov>-19.275</bottomFov>
    <topFov>19.275</topFov>
    <near>297.867</near>
  </ViewVolume>
  <Point>
    <altitudeMode>relativeToGround</altitudeMode>
    <coordinates>138.822523815,38.073268312,26406.04000000032</coordinates>
  </Point>
</PhotoOverlay>
専用のPhotoOverlayタグで囲まれたものが1つのコンテンツとなります。特徴的なのは、
今回のようなシンプルなサンプルである場合は、
また、
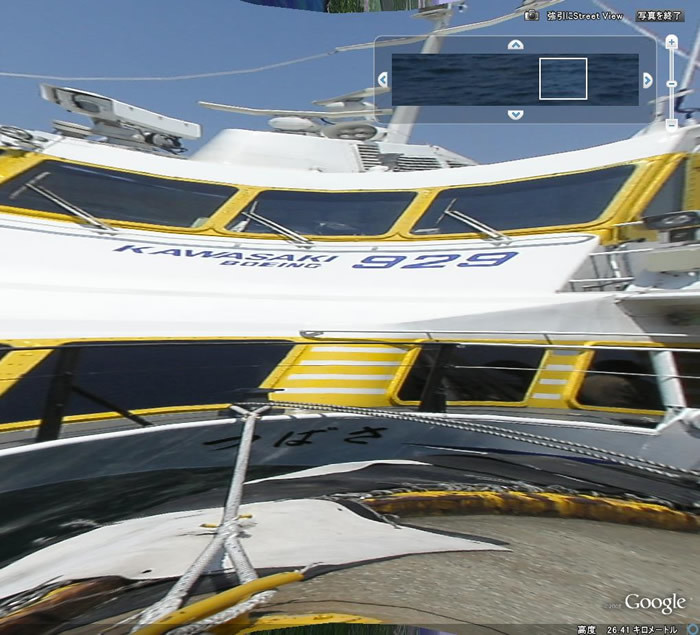
図7は、
さて、
<PhotoOverlay>
  <name>強引にStreet View</name>
  <Camera>
    <longitude>138.822523815</longitude>
    <latitude>38.073268312</latitude>
    <altitude>26406.04000000032</altitude>
    <heading>0.2400000000000043</heading>
    <tilt>0</tilt>
    <roll>0</roll>
  </Camera>
  <Icon><href>3-7.jpg</href></Icon>
  <shape>cylinder</shape>
  <ViewVolume>
    <leftFov>-180</leftFov>
    <rightFov>180</rightFov>
    <bottomFov>-40</bottomFov>
    <topFov>40</topFov>
    <near>2</near>
  </ViewVolume>
  <Point>
    <altitudeMode>relativeToGround</altitudeMode>
    <coordinates>138.822523815,38.073268312,26406.04000000032</coordinates>
  </Point>
</PhotoOverlay>
これはパノラマ写真に最適なモードで、
採用した写真によっては縦に潰れて表示されるものもあるでしょう。その場合には<bottomFov>と<topFov>をそれぞれ数字を上下させることで、
また、
| <shape>がractangleの場合 | |
|---|---|
| topFov | 90°未満 |
| bottomFov | -90°以上 |
| <shape>がCylinder、Sphereの場合 | |
| -90° < bottomFov <topFov < 90° | |
| -180°< leftFov < rightFov < 180° | |
この値の設定のルールに反した設定の場合は正しく表示されません。特に<shape>がCylinder、
いかがでしたでしょうか? このほかにも画像を管理するテクニックはまだまだあるのですが、


