アドホック分析環境とは?
ビッグデータ分析におけるアドホック分析では、
今回と次回で、
JupyterとPandasとは?
Jupyterは、
Pandasは、
各種ツールのインストール
利用環境
- Ubuntu 14.
04 - Python 3.
4 - Pandas (0.
16. 2) - Jupyter (Jupyterhub 0.
2.0)
Python3のインストール
Ubuntu14.
$ sudo apt-get update
$ sudo apt-get upgrade
$ sudo apt-get install git gcc g++ make openssl libssl-dev libbz2-dev libreadline-dev libsqlite3-dev python-dev libmysqlclient-dev
$ cd /usr/local/
$ git clone git://github.com/yyuu/pyenv.git ./pyenv
$ mkdir -p ./pyenv/versions ./pyenv/shims
$ echo 'export PYENV_ROOT="/usr/local/pyenv"' | sudo tee -a /etc/profile.d/pyenv.sh
$ echo 'export PATH="${PYENV_ROOT}/shims:${PYENV_ROOT}/bin:${PATH}"' | sudo tee -a /etc/profile.d/pyenv.sh
$ source /etc/profile.d/pyenv.sh

$ sudo visudo
#Defaults       secure_path="/usr/local/sbin:/usr/local/bin:/usr/sbin:/usr/bin:/sbin:/bin"
Defaults    env_keep += "PATH"
Defaults    env_keep += "PYENV_ROOT"

$ pyenv install -v 3.4.3
$ pyenv global 3.4.3
$ pyenv rehash
$ pip install --upgrade pip
$ pip install pandas
$ apt-get install npm nodejs-legacy
$ npm install -g configurable-http-proxy
$ pip install zmq jsonschema

# 可視化用ライブラリ
$ apt-get build-dep python-matplotlib
$ pip install matplotlib
# MySQL接続用ライブラリ
$ pip install mysqlclient ipython-sql

$ pip install ipython[notebook] jupyterhub

$ passwd ubuntu

$ jupyterhub
※今回は複数のユーザの利用を想定してJupyterhubというマルチクライアント用のツールを使いました。しかし一人で利用するケースでは、
さて、
http://'IP address':8000/
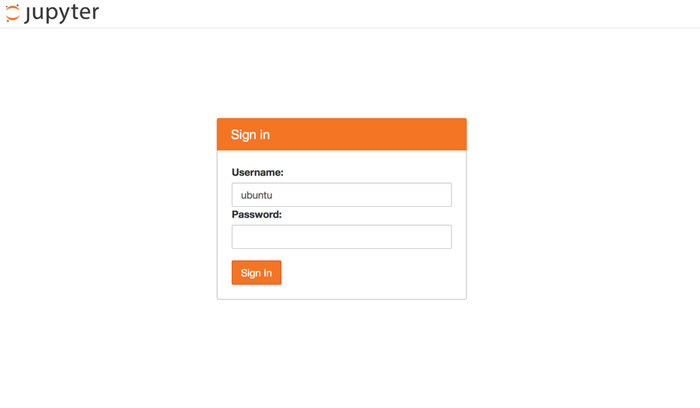
ユーザの認証は、
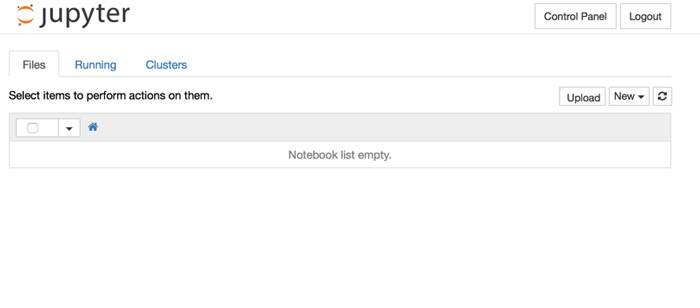
Jupyterの基本的な使い方
“Hello World”してみる
トップ画面で、
とりえあず、Shift+Enterで実行できます。
print('Hello World!')
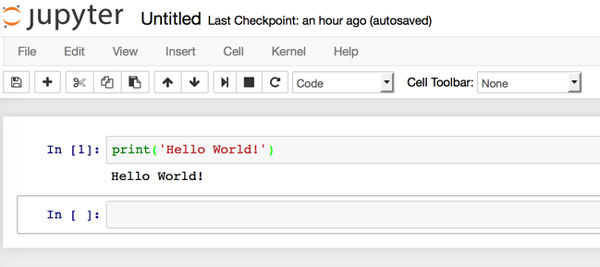
Pythonが実行できることを確認できましたね。
このNotebookでの作業内容は .ipynb という拡張子を持つファイルに自動で保存されます。
また、
%matplotlib inline
そして、
import matplotlib.pyplot as plt

plt.plot(range(100))
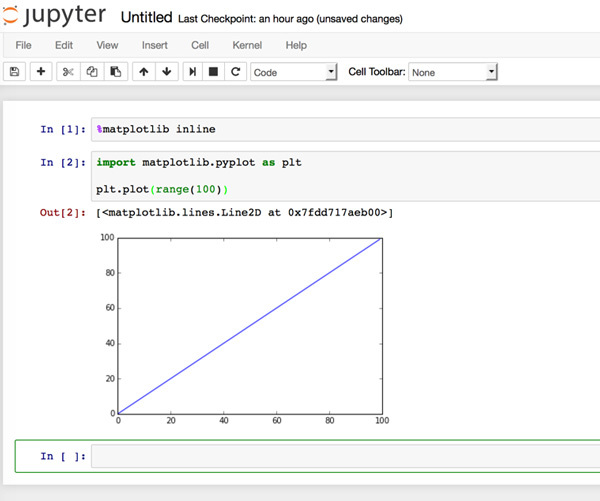
このように%を先頭に付けることで、!を付与すると、
この他、
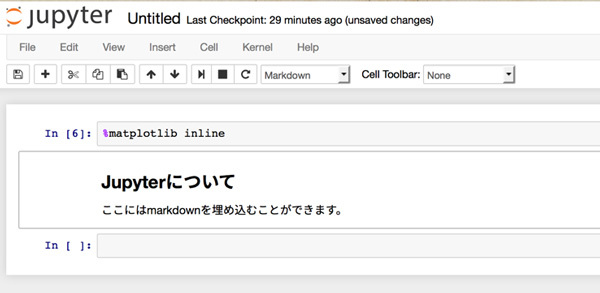
また、
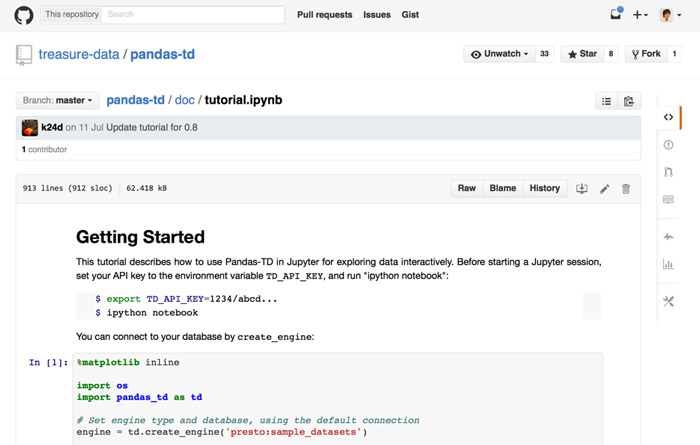
Jupyterまとめ
今回はJupyterのインストールと起動、
次回は、


