4月8日にGoogle App EngineというサービスがGoogleから公開されました。Google App Engineは、
通常、
さて、
その他の特徴は、
- アプリケーションごとに500MBのストレージ、
月に500万ページビューまで利用可能 - 無料
(正式リリース後は有料オプションで上記の上限超過にも対応) - 現時点で開発言語は Python のみ対応
(Djangoベース) - SDKをダウンロードすることでローカルで開発可能、
デプロイも簡単 - 管理用ダッシュボードが用意されていてCPU使用率、
ログなどを閲覧可能
それでは、
Pythonのインストール
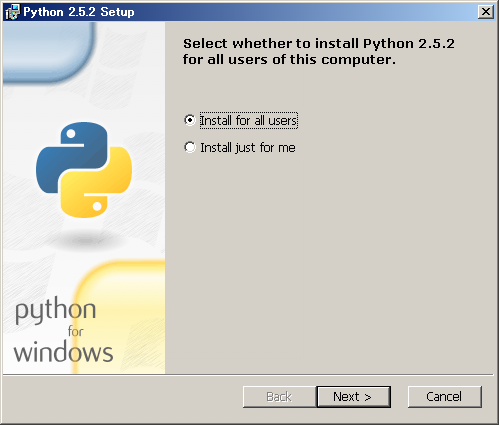
Google App Engineを利用するにはPythonというプログラム言語が必要です。まず、
最新版のpython-2.
SDKのインストール
Google App EngineのSDKは次のURLからダウンロードできます。Windows用、
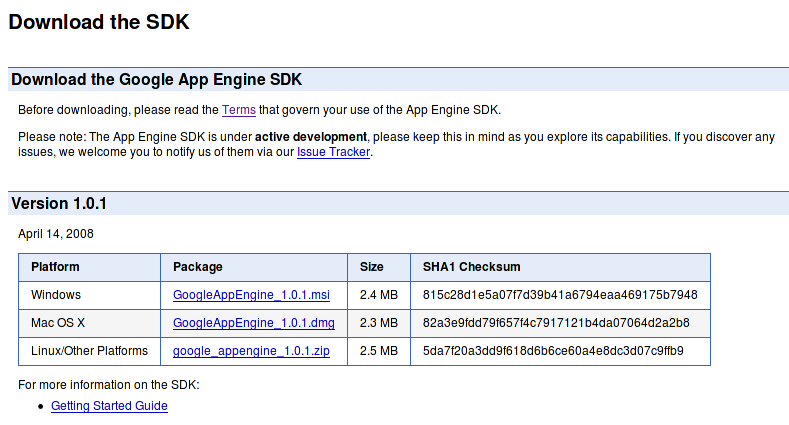
GoogleAppEngine_
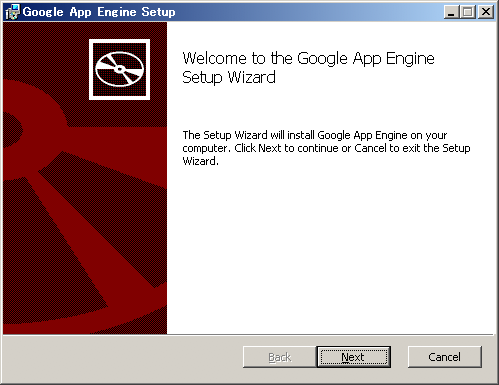
こちらも
Google App Engineのインストールはこれで終了です。Webアプリケーションのための開発環境が整いました。開発用にWebサーバを用意したりする必要がないので、
デモアプリケーションを動かしてみる
それでは、
> cd "c:\Program Files\Google\google_appengine"
> dev_appserver.py demos\guestbook
Allow dev_appserver to check for updates on startup? (Y/n):
アップデートの確認をするかどうか聞かれるので"Y"と入力してEnterを押します。
dev_appserver will check for updates on startup. To change this setting, edit C:\Documents and Settings\user/.appcfg_nag
INFO     2008-04-17 22:36:50,123 appcfg.py] Checking for updates to the SDK.
WARNING  2008-04-17 22:36:50,502 datastore_file_stub.py] Could not read datastore data from /tmp/dev_appserver.datastore
WARNING  2008-04-17 22:36:50,502 datastore_file_stub.py] Could not read datastore data from /tmp/dev_appserver.datastore.history
INFO     2008-04-17 22:36:50,523 dev_appserver_main.py] Running application guestbook on port 8080: http://localhost:8080
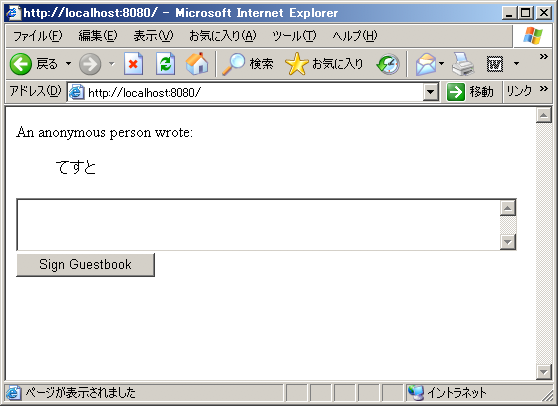
すると開発用のWebサーバが起動します。ブラウザを立ち上げて"http://
簡単なアプリケーションを作ってみる
次に"Hello, world"と表示する簡単なアプリケーションを作ってみましょう。
C:\Program Files\Google\google_
import wsgiref.handlers
from google.appengine.ext import webapp

class MainPage(webapp.RequestHandler):
  def get(self):
    self.response.headers['Content-Type'] = 'text/plain'
    self.response.out.write('Hello, World!')

def main():
  application = webapp.WSGIApplication(
                                       [('/', MainPage)],
                                       debug=True)
  wsgiref.handlers.CGIHandler().run(application)
ここで、
- 1~2行目:
- Webサーバと通信するためのWSGIという標準インタフェースを利用可能にします。また、
Google App EngineのWebフレームワークを読み込みます。この部分は決まり文句と思えばよいでしょう。 - 9~13行目:
- ここにURLとの対応を記述していきます。上の場合ですと、
'/'にアクセスしてきた場合にはMainPageクラスが呼び出されるように、 ハンドラを登録します。 - 4~7行目:
- 実際の処理をwebapp.
RequestHandlerを継承したクラスとして記述します。GETメソッドで呼び出された場合はクラスのget()メソッドが、 POSTメソッドで呼び出された場合はクラスのpost()メソッドが実行されます。今回は、 Content-Typeの値に'text/ plain'をしていますが、 省略した場合は'text/ html'が出力されますので記述しなくてもOKです。最後に、 self. response. out. writeによって'Hello, Wolrd!'という文字列を出力します。
そして、
application: myapp
version: 1
runtime: python
api_version: 1

handlers:
- url: /.*
  script: helloworld.py
アプリケーションに関する情報をYAML形式で記述します。アプリケーション名は、
ここまでで、
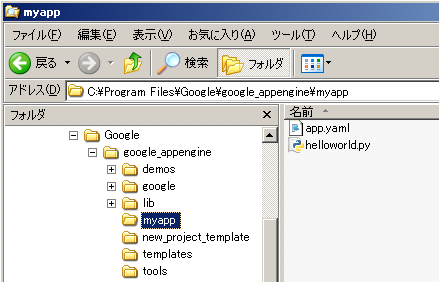
それでは、
> dev_appserver.py myapp
ブラウザを開いて、
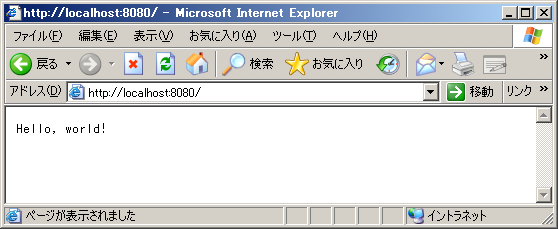
ここで、
self.response.out.write('Hello, World!')
↓
self.response.out.write('Hello, Japan!')
そして、
以上で、


