


第4回目の今回は、
投稿画面を作ろう
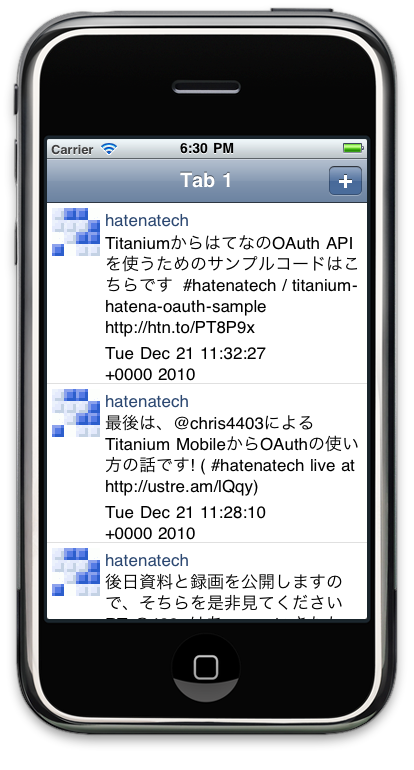
実際にOAuthの認証を始める前に投稿画面を先に作ってしまいましょう。初回のイメージに上げたように、
var win1 = Ti.UI.currentWindow;
var messageButton = Ti.UI.createButton(
    {
            systemButton: Titanium.UI.iPhone.SystemButton.ADD
    }
);
messageButton.addEventListener(
    'click',
    function () {
        var messageWindow = Ti.UI.createWindow(
            {
                url: 'message_window.js',
                title: 'message',
                backgroundColor: '#fff'
            }
        );
        messageWindow.open();
    }
);
win1.rightNavButton = messageButton;前回作成した、
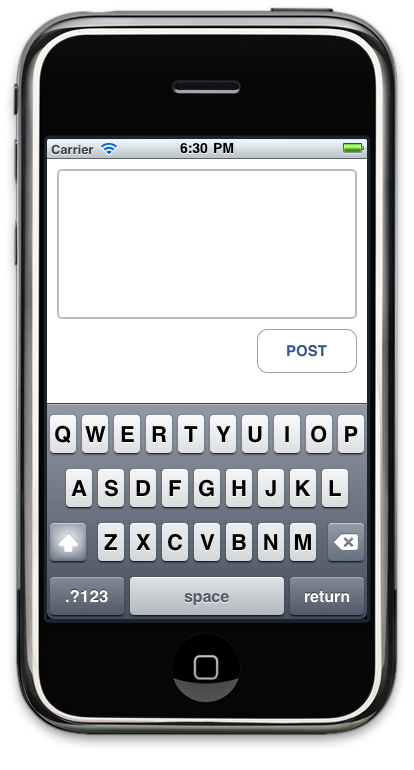
また、
var win = Ti.UI.currentWindow;
var textArea = Ti.UI.createTextArea(
    {
        height:150,
        width:300,
        top:10,
        font:{fontSize:20},
        borderWidth:2,
        borderColor:'#bbb',
        borderRadius:5
    }
);

win.add(textArea);
var postButton = Ti.UI.createButton(
    {
        top: 170,
        right: 10,
        width: 100,
        height: 44,
        title: 'POST'
    }
);
win.add(postButton);
こちらがmessage_
OAuth認証の準備
画面ができたので、
まず、
申請に成功すると、
OAuthアダプタを使おう
この記事で紹介しているoauth-adapterはTwitterの仕様変更により現在そのままでは利用できません。
連載第6回で紹介しているtm_
TitaniumからTwitterのOAuth認証を行う方法として、
配置が完了したら、
コードの先頭部分にある 'consumer_
Ti.include('lib/oauth_adapter.js');
var oAuthAdapter = new OAuthAdapter(
    'consumer_secret',
    'consumer_key',
    'HMAC-SHA1'
);
oAuthAdapter.loadAccessToken('twitter');

function tweet(message) {
    oAuthAdapter.send(
        'https://api.twitter.com/1/statuses/update.json',
        [['status', message]],
        'Twitter', //アラートのタイトル
        'Published.', //成功したときのアラートメッセージ
        'Not published.' //失敗したときのアラートメッセージ
    );

    if (oAuthAdapter.isAuthorized() == false) {
        var receivePin = function() {
            oAuthAdapter.getAccessToken(
                'https://api.twitter.com/oauth/access_token'
            );
            oAuthAdapter.saveAccessToken('twitter');
        };
        oAuthAdapter.showAuthorizeUI(
            'https://api.twitter.com/oauth/authorize?' +
                oAuthAdapter.getRequestToken(
                    'https://api.twitter.com/oauth/request_token'
                ),
            receivePin
        );
    }
}

postButton.addEventListener(
    'click',
    function () {
        if ( textArea.value ) {
            tweet( textArea.value );
        }
    }
);

win.add(postButton);
この変更をした後、
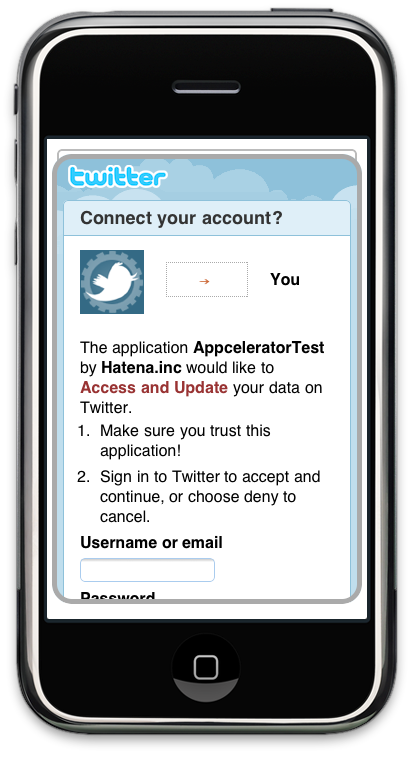
この画面の指示に従うことで、
このままのコードですと、
上のコードでの重要な点のひとつは、
もう一点は関数tweetの中でoAuthAdapter.
関数tweetの中で行われているそれ以外の処理は、
まとめ
oauth_